
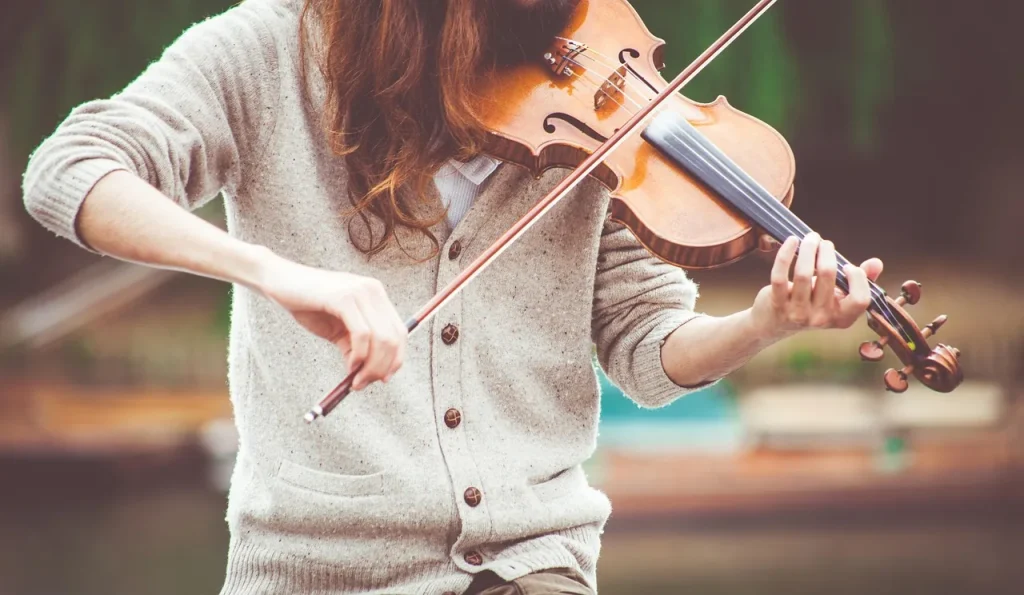
Goal: this article guides you step by step through this famous Baroque piece, with clear fingerings and effective bowing.
Why learn it? Often played at weddings, this canon is approachable once you have a solid first position and have prepared third position for a few key passages.
You will learn to choose the best sheet music, organize your practice sessions, develop your tone on open strings, and improve your intonation with evenly timed notes.
The method also covers connecting the voices, creating your own accompaniment, and using a play-along track. For practical guidance, explore sheet music and exercises here: easy Baroque violin piece.
Expected results: greater musicality, better sound projection, and a confident performance, whether you are an advancing beginner or an intermediate player.
Context and goals: playing Pachelbel’s Canon on the violin today
A simple practice plan makes this piece accessible to motivated violinists. This article offers a clear path from an intimidating score to measurable progress.
A realistic goal: make progress through short, focused sessions until you can give a lyrical, steady performance.
Why this impressive piece is more accessible than it seems
Most of the piece sits comfortably in first position. The more demanding passages are rare and mainly add color to the performance.
By working on tone with open strings and intonation with evenly timed notes, an advancing beginner can quickly produce a clear melodic line.
Positions needed: master first position and prepare third position
Before you begin: develop a stable left hand in first position, basic articulation, and control of the tempo.
- Session 1: work on tone with open strings.
- Session 2: work on intonation with evenly timed notes.
- Session 3: incorporate first-position fingerings.
- Session 4: identify and prepare third position for the short passages that need it.
To share your impressions or post a recording and get focused advice, read research on how the violin was held in the Baroque era.
Pachelbel’s Canon on the violin: fingerings and bowing
Planning fingerings for each section makes it easier to connect the voices and improves intonation.
First-position fingering map: keep your hand compact through the main sections. Mark two or three reliable finger placements for each chord in the score, and limit substitutions to stay steady.

Passages in third position
Identify where third position gives you smoother legato. Prepare slow, deliberate shifts. Try a subtle slide to connect the arpeggios.
Intonation and reference points
Practice the melody with evenly timed notes and a metronome. Check thirds and sixths against the open strings. Adjust your finger placement carefully to correct the pitch.
Connecting the voices comfortably
- Play each voice separately, then combine two to sharpen your listening.
- Place the first finger in the new position as a reference point, and keep your thumb relaxed.
- Mark shifts, supporting strings, and alternative fingerings to try in the score.
Bow control: tone, articulation, and open strings
Start by developing a rounded tone on open strings.
Work on tone with open strings: let the natural weight of your right arm rest on the bow, keep a consistent contact point near the middle of the string, and move the bow at a steady speed. Aim for an even tone color before adding the melody.
Develop tone on open strings before adding the melody
Practice clear but gentle bow starts to strengthen the attack. Play the patterns with evenly timed notes and a metronome to even out the dynamics.
Keep the tone color consistent during shifts by maintaining the same contact point. Steady the bow angle on the lower strings to avoid abrupt jumps.
Articulation and slurs: lyrical détaché and slurred arpeggios
Choose a lyrical détaché for repeated patterns and slurs for the arpeggios. Plan how much bow each phrase needs so you have enough left for its high point.
- Contact point: central and consistent.
- Speed: controlled, including on the G and D strings.
- Evenness: play the patterns with evenly timed notes, then add expression.
| Goal | Exercise | Expected result |
|---|---|---|
| Full tone | Open strings with a slow metronome | Rounded, steady tone color |
| Clear attack | Short bow starts, controlling the onset | A clear start to each phrase |
| Slurs | Slurred arpeggios and bow distribution | Smooth harmonic flow |
Practical tip: use a recording or play-along track to settle the tempo, then share your version (#jouerduviolon, @jouerduviolon) to get feedback.
Practicing with accompaniment: play-alongs, looping, and improvisation
Practicing over a loop helps you hear how the melody and harmony interact. Use a play-along track to establish the tempo and structure. This strengthens rhythmic accuracy and phrasing.
Play-along: start the track, work on accuracy, then record yourself to share your version. Credit the track’s creator and add relevant hashtags.

Building an accompaniment with a looper
- Layer 1: slurred pizzicato arpeggios; start with the lowest note. Vary the pattern to bring out the third of each chord.
- Layer 2: two-note chords on the G and D strings; try different rhythms (quarter notes, eighth notes, and triplets).
- Layer 3: record the melody to complete the backing track.
Improvising simply
Start with one note per chord, then move to two, then four. Choose chord tones to keep the music coherent.
Leave rests to shape clear phrases, then repeat and vary the patterns.
| Goal | Method | Result |
|---|---|---|
| Set the tempo | Slow play-along track and reference recording | Better phrasing and a stronger grasp of the structure |
| Build a loop | Three layers: pizzicato, chords on the G and D strings, and melody | Stable harmonic support |
| Improvise | One, then two, then four notes per chord, with rests | Short, expressive phrases |
Tip: name the score you used and provide a download link if possible. Practice these pieces in loops to make steady progress.
Conclusion
In short, a focused routine will help you play Pachelbel’s Canon on the violin with confidence and expression.
Key points: master first position, prepare third position where needed, develop your tone on open strings, and work on intonation with evenly timed notes.
Use a play-along track or looper to establish the tempo, try different scores, and practice each voice of the canon before layering them.
Try improvising in small steps, record a polished version, and share it. This approach will bring greater clarity to your pieces and lasting progress to your violin playing.