
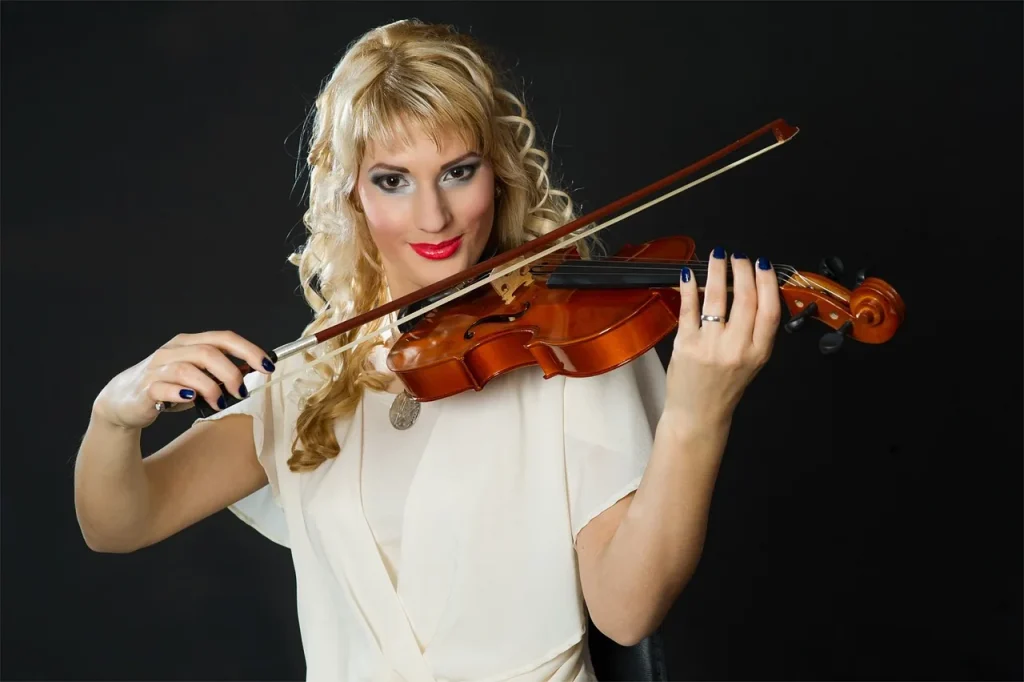
Goal: provide a clear method for learning and performing this Baroque piece in D major. This introduction sets out the approach: technique, resources, and gradual practice to take you from study to performance.
Background: written around 1680 for three instruments and basso continuo, the work has become familiar at weddings. Its repeating structure and ground bass make it ideal for working on intonation and phrasing.
Accessibility: despite its reputation, the piece is manageable if you are comfortable in first position and beginning to explore third position. Practicing on open strings and with even notes improves tone and intonation.
We will cover technique (positions and bowing), useful resources—including violin sheet music—and a practice plan with sample sessions. Play-alongs and advice on sharing your progress round out this practical article.
Why Pachelbel’s Canon is ideal for violin practice today
The piece’s repeating structure makes it excellent practice material. Its phrases return, helping you memorize the harmonic progression. It is an accessible piece that encourages daily practice.
Who is it for? This repertoire suits late-beginner to intermediate violinists. It strengthens first-position playing while introducing third position through familiar melodic landmarks.
Technical benefits: bow control, tone quality, and intonation. Exercises with even notes strengthen intonation against the ground bass. Play-alongs and online challenges offer practical ways to keep a steady tempo.
Musical benefits: you develop an ear for melodic lines, a sense of phrasing, and harmonic awareness. These skills transfer readily to other Baroque or Romantic pieces.
Recommended approach: keep sessions short and focused on tone, intonation, or transitions. Structured repetition builds confidence and makes the piece easier to play with regular practice.
Pachelbel’s Canon on the Violin: Guide and Sheet Music
The quality of an edition directly affects how you learn and perform the piece.
Download a reliable score: choose a clear edition with fingerings and bowing marks. Prefer the original key of D major and check that the ground bass is consistent.
Compare the versions: an easy violin version simplifies the left-hand work; an intermediate version adds passages in third position and light ornamentation. To progress, start with the easier edition, then download the more complete one.

Arrangement options
- Violin parts with audio accompaniment
- Violin and cello duo for listening and balance
- String quartet and harpsichord for a Baroque sound
- Easy or intermediate piano arrangement for home practice
Videos and play-alongs
Look for setup tutorials, complete recordings, and play-alongs at different tempos. Record short takes and share them with a dedicated tag to get feedback.
| Criterion | Why it matters | Tip |
|---|---|---|
| Key | Preserves the original harmonic progression | Choose D major |
| Readability | Reduces mistakes during practice | Choose a clear score with large staves |
| Markings | Help with phrasing and bowing | Look for fingerings and bowing marks |
A quick method: create a folder for each piece, keep the PDFs and audio files together, then annotate the score. For a recommended edition, see this reliable edition for useful information and a solid starting point.
Prepare your technique: positions, tone, and intonation for clean playing
Focused practice supports musical expression. First, concentrate on secure movements in first position before moving into third. A relaxed left hand and visual reference points help prevent unwanted slides.
Master first position and begin third position
Prerequisites: be comfortable in first position, begin working on third position, and identify reference points for each target note.
Exercise: make guided shifts from first to third position using notes from the theme. Repeat slowly until your intonation is stable.
Practice on open strings for tone
Bow routine: play slowly on each string for five minutes. Control bow speed, contact point, and pressure to produce a full tone.
Use even notes to improve intonation
Play evenly timed eighth notes and quarter notes on the notes of the chords, along with the ground bass. Add a D or A drone to train your ear.
Practical study plan: sample sessions
Divide the piece into four to six sections. Work on each one until you can play three clean takes, then connect them.
| Goal | Duration | Key exercise |
|---|---|---|
| Tone | 10 min | Play slowly on each open string |
| Intonation | 15 min | Even notes with the ground bass |
| Transitions | 10 min | Shift from first to third position on target notes |
| Putting it together | 15 min | Play along and record a complete take |
Practical tips: check your posture every day, break the piece into sections, and finish with a take at a comfortable tempo, noting two things to improve.
From accompaniment to interpretation: looper, arpeggios, chords, and improvisation
Use a looper to layer simple parts and turn the harmonic progression into a lively accompaniment.
Getting started: first record pizzicato arpeggios, beginning on the violin’s lowest available note. This establishes the bass and gives the sound a foundation.
Build an accompaniment
Next, create a second layer of arpeggios that highlights the third of each chord. This variation shifts the emphasis and prevents every downbeat from sounding the same.
Add a third track with two-note chords on the G and D strings. Try several rhythmic patterns (offbeat pulses, regular beats, and syncopation), then loop the entire progression.

Improvise simply
Begin improvising with one note per chord (whole notes), then move to two (half notes) and four (quarter notes). Stay on chord tones and leave rests to shape your phrases.
“The repeating chord progression lets you try variations while maintaining harmonic coherence.”
| Layer | Role | Practical tip |
|---|---|---|
| 1 – Pizzicato arpeggio | Establishes the bass | Start on the lowest available note |
| 2 – Arpeggio highlighting the third | Shifts the emphasis | Accent the third for variety |
| 3 – Two-note chords | Adds rhythmic texture | Use the G and D strings; try offbeat pulses and syncopation |
Tip: record your loops, listen back later, and adjust them. For more information and a Pachelbel score, see the resource cited above.
Conclusion
To finish, a compact plan can help you move from the score to fluent playing.
Plan: choose a suitable version, annotate the score, and work on tone, intonation, and shifts from first to third position in short sessions.
Combine open-string work, even-note exercises, and play-alongs. A looper can help steady your tempo and intonation.
Next step: download a score suited to your level, schedule three practice sessions this week, and record a slow take with accompaniment.
Keep the PDFs, audio files, and reference videos in one folder. Share a short video to get focused advice.
If this article helped you, bookmark it. With regular practice, your performance will become clearer and more expressive.